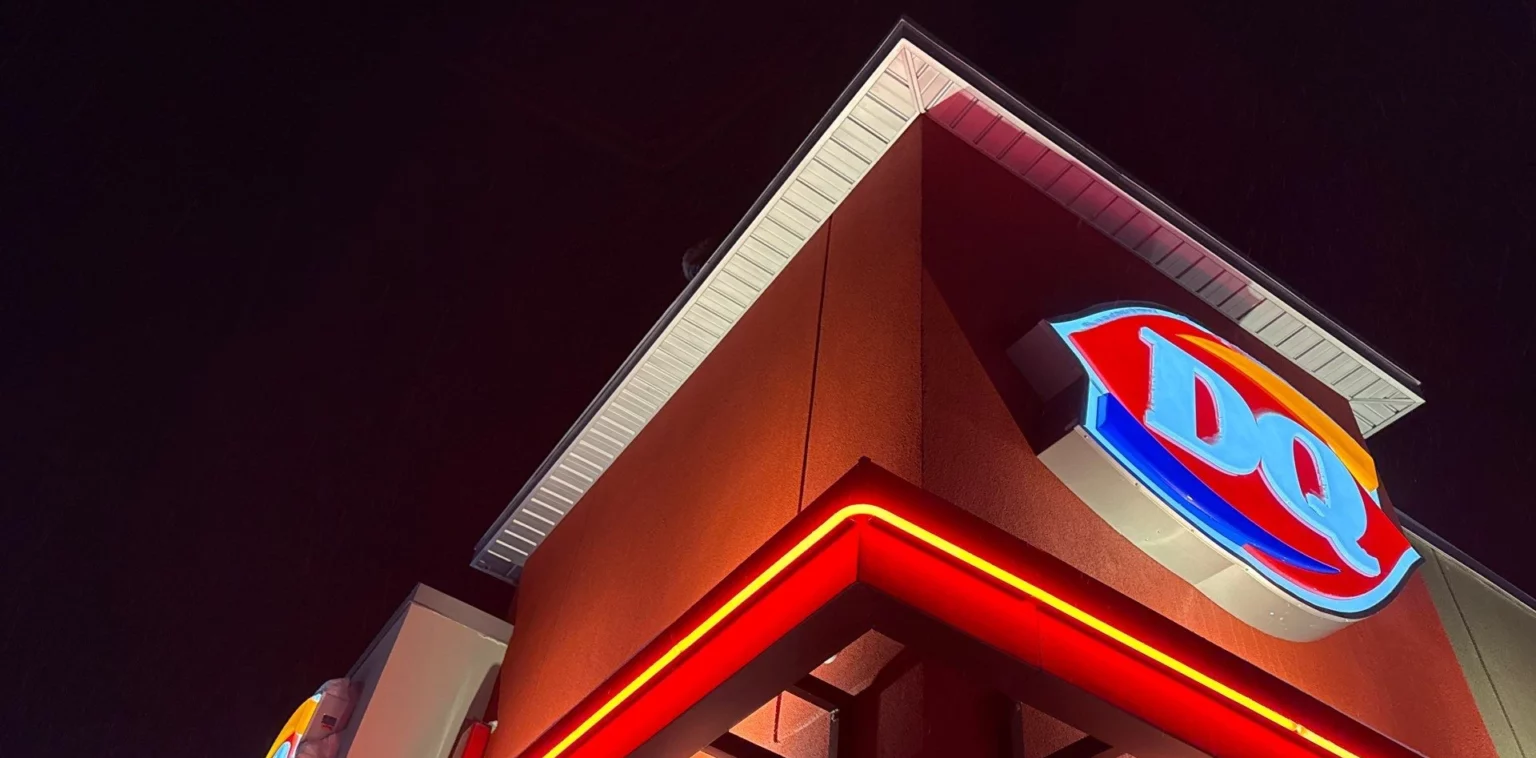
Dairy Queen 3,000 Sq. Ft. Flat Roof Installation in Timmins, Ontario
Project Details
Project: Dairy Queen Flat Roof Installation Roof Size: 3,000 Sq. Ft. Roofing System: 2-Ply Torch-Down Roofing Roofing Layers: BAKOR NP 180 Torch-Down Base Sheet, BAKOR NP 250 Torch-Down Cap Sheet Roof Preparation: New Roof Slope and Waterproofing Underlayment Insulation Boards: IKO ISO R11.4 Insulation (Thickness – 2″) Protector Boards: Bakor Fire Protector Boards Drainage: Overflow Drains, Roof Drains and Custom Downspouts Additional Work: Roof Ventilation, AC Unit Waterproofing, Wall Edge Waterproofing and Siding
Project Overview
Our team completed a 3,000 sq. ft. flat roof installation at a Dairy Queen restaurant in Timmins, Ontario. This project included creating a new roof slope, installing proper waterproofing and insulation, and applying a 2-ply torch-down roofing system with base and cap sheets.
We also worked on overflow drains, roof drains, ventilation systems and rooftop AC units to ensure proper waterproofing and drainage. In addition to the roofing work, our team waterproofed the roof edges and wall connections, completed siding work and installed custom downspouts to direct rainwater away from the building.
Our Flat Roof Installation Process
Our team started the roofing project on this newly built commercial building, where we were hired to install a new flat roof using a 2-ply torch-down roofing system. We began by preparing the roof surface and planning each stage of the installation to ensure a proper and durable roofing system.
Step 1: Creating a New Roof Slope
We started by preparing the roof and creating a new slope to help rainwater flow towards the drainage points. Proper roof slope is important for reducing standing water and protecting the flat roof from potential water damage.
Step 2: Installing Waterproof Underlayment
After preparing the roof slope, our team installed the proper waterproof underlayment to create a protective foundation for the new roofing system. This layer helps protect the roof structure from moisture and provides additional waterproofing beneath the roofing materials.
Step 3: Installing IKO ISO R11.4 INSULATION Boards
We installed insulation boards across the flat roof to help improve the building’s thermal performance. Proper roof insulation helps maintain indoor temperatures and reduces heat loss during the cold Ontario winters.
Step 4: Installing Fire Protector Boards
Next, we installed fire protector boards over the insulation boards to provide a protective surface for the torch down roofing system. These boards help protect the underlying insulation during the installation of the torch applied roofing materials.
Step 5: Preparing and Waterproofing Overflow Drains
Our team carefully cut and shaped the wall openings to accommodate the overflow drains.
Overflow drains provide an additional drainage route when the primary drainage system cannot handle excess water, helping protect the building during heavy rainfall.
Step 6: Installing the Base Sheet Using a 2-Ply Torch-Down System
After preparing the roof surface, installing the insulation, and placing the fire protector boards, our team installed the base sheet as the first layer of the 2-ply torch-down roofing system.
The base sheet is securely torch applied over the prepared surface to create a strong, protective foundation for the roofing system. It helps provide added protection against moisture, rain, and changing weather conditions while preparing the roof for the final cap sheet.
Step 7: Installing the Cap Sheet Using a 2 Ply Torch Down System
After installing the base sheet, our team applied the cap sheet as the final layer of the 2 ply torch down roofing system. The cap sheet is securely torch applied over the base sheet to create a durable, watertight roofing surface.
It provides an additional layer of protection against rain, moisture, sun, and changing weather conditions while helping extend the life of the roofing system. Proper installation of the cap sheet is essential for creating a strong, reliable roof that is built to perform for years with proper maintenance.
Step 8: Waterproofing Around Ventilation and Rooftop Units
We carefully waterproof and seal around rooftop ventilation systems and rooftop units to help prevent water from entering the building. Our team pays close attention to all connections, seams, and openings, ensuring a secure seal, reliable protection, and a clean, professional finish.
Step 9: Waterproofing Around Rooftop AC Units
Our team completed the necessary waterproofing and sealing around the rooftop AC units. These areas require special attention to prevent water from entering through gaps or poorly sealed connections. We carefully finished the roofing materials around the units to maintain a secure waterproof barrier.
Step 10: Installed Custom Metal Wall Flashing
Our team secured roof and wall edges with custom metal wall flashings to help prevent water from entering. We carefully sealed the roof to wall connections to provide long-lasting protection against moisture and leaks, while maintaining a clean and professional finish.
Step 11: Professional Siding Finish
Our team finished the siding to add strength and provide better protection for the walls against snow, moisture, and harsh winter weather. We focus on a clean, durable finish that helps protect the building for years to come.
Step 12: Installing Custom Downspouts
Our team installed custom downspouts on the flat roof to direct rainwater safely away from the roof and building. Proper water drainage helps prevent water buildup and protects the building from leaks and water damage.
Final Project Results
Our team successfully completed this newly built 3,000 sq. ft. flat roof installation for Dairy Queen in Timmins, Ontario. The new flat roof is built to handle Northern Ontario’s changing weather and provides reliable protection against water, snow, and moisture. We completed the project with a strong, durable, and clean finish.
Frequently Asked Questions About Flat Roofs in Ontario
1. How do I know if my flat roof needs a repair or a full replacement?
It depends on the condition of the roof. Small leaks, damaged seams, or minor flashing problems can often be repaired. If the roof has many damaged areas, repeated leaks, or the roofing system is badly worn, a full replacement may be the better choice. A professional roof inspection can help determine the right solution.
2. Why is my flat roof leaking?
Flat roof leaks can happen for many reasons, including damaged roofing membranes, open seams, worn flashing, or damage around roof openings and equipment. Finding the source of the leak early can help prevent further water damage to the building.
3. Can a flat roof handle Ontario winters?
Yes. A properly installed flat roof is designed to handle Ontario’s snow, cold temperatures, rain, and changing weather. Using the right roofing system and installing it correctly helps protect the building through harsh winter conditions.
4. How long does a flat roof last in Ontario?
The lifespan of a flat roof depends on the roofing material, installation quality, weather exposure, and regular maintenance. With proper care and timely repairs, a good flat roofing system can provide many years of protection.
5. How often should I have my flat roof inspected?
It is a good idea to have your flat roof checked regularly, especially after winter or severe weather. Regular inspections can help find small problems before they become larger and more expensive repairs.
At Real Blue Roofing Services, we provide professional commercial flat roofing services across Ontario, including flat roof installation, replacement, repair, and waterproofing.
Have a commercial flat roofing project in Ontario?
📞 Call Real Blue Roofing: 647-740-5225 🌐 Contact Us: https://www.realblueroofing.ca/contact-us/