
De‑Icing Cable for Roofs: Your Easy Guide to Prevent Ice Dams and Protect Your Home
Winter gives incredible beauty, but it also brings a number of unknown risks to your roof. Ice dams, which occur when snow melts under roofs and thick ice gathers at the eaves, are a major issue. This could lead to rotted wood, leaks, and damaged gutters. By supplying heat along the gutters and eaves, a de-icing cable can assist avoid ice blocks by ensuring that melting water flows away securely.
An excellent solution? The installation of a De-Icing cable, often known as a heating cable or roof heat tape. It aids in melting ice before it becomes harmful.
What Is a De‑Icing Cable?
An electric heating wire that is positioned along gutters, downspouts, and roof edges is called a de-Icing cable. It heats up when powered on, melting ice and snow to make way for water to runoff.
There are mostly two kinds:
1) Constant-wattage cables are ideal for severely cold climates because they deliver consistent heat.
2) A self-regulating cable modifies its heat output according to the ambient temperature. Cooler? Warmer? It generates more heat. It saves energy by lowering power. Smart and efficient.
How Does It Work?
De-Icing cables release heat through electrical resistance. When activated, they sufficiently melt the surrounding ice to allow water to run off the roof through gutters.
The following places are good for installation:
1) Ice dams frequently form at the edges of roofs and eaves.
2) Downspouts and gutters to keep water flowing and avoid refreezing.
Pros of Using De‑Icing Cables
1) Avoid ice dams: They prevent water backup under your roof by melting frozen buildup.
2) Safeguard your house: Lowers the possibility of leaks, wood damage, and gutter damage.
3) Increase safety: It removes possibly dangerous icicles that could fall on individuals below and increase the safety.
4) Energy-efficient: Requires only the necessary amount of power, saving money.
5) Easy to install: Many products are do-it-yourself oriented and include thorough instructions.
Cons to Know
1) Cost: costs more at the beginning than chemicals that melt in ice.
2) Not a complete solution: You still need sufficient airflow and insulation to prevent heat from escaping via the attic.
3) Road energy use: During the winter, using electricity might increase your power cost.
4) Improper installation risk: Cables that overlap or don’t have sensor control may overheat, increasing the possibility of damage or even fire.
5) Appearance: The appearance of your roof may be impacted by visible cables.
Do You Need One?
De-icing wires are a smart, easy solution if you live in a snowy area and have problems with ice dams, especially if you can’t instantly upgrade your ventilation or insulation.
Its a fantastic mid-term solution that works well in the winter months and is quicker and less expensive than significant roof renovations.
Choosing the Right Cable
The ideal wires for efficiency and safety are self-regulating ones.
even consume more energy, constant-wattage cables are excellent for very cold areas.
Seek out supplies that contain:
1) Plug-in electricity using a ground fault circuit breaker.
2) Gutter hangers and roof clips.
3) The controller unit with sensors.
Step-by-Step Installation Instructions
1) Before winter, clean the roof’s gutters and eaves.
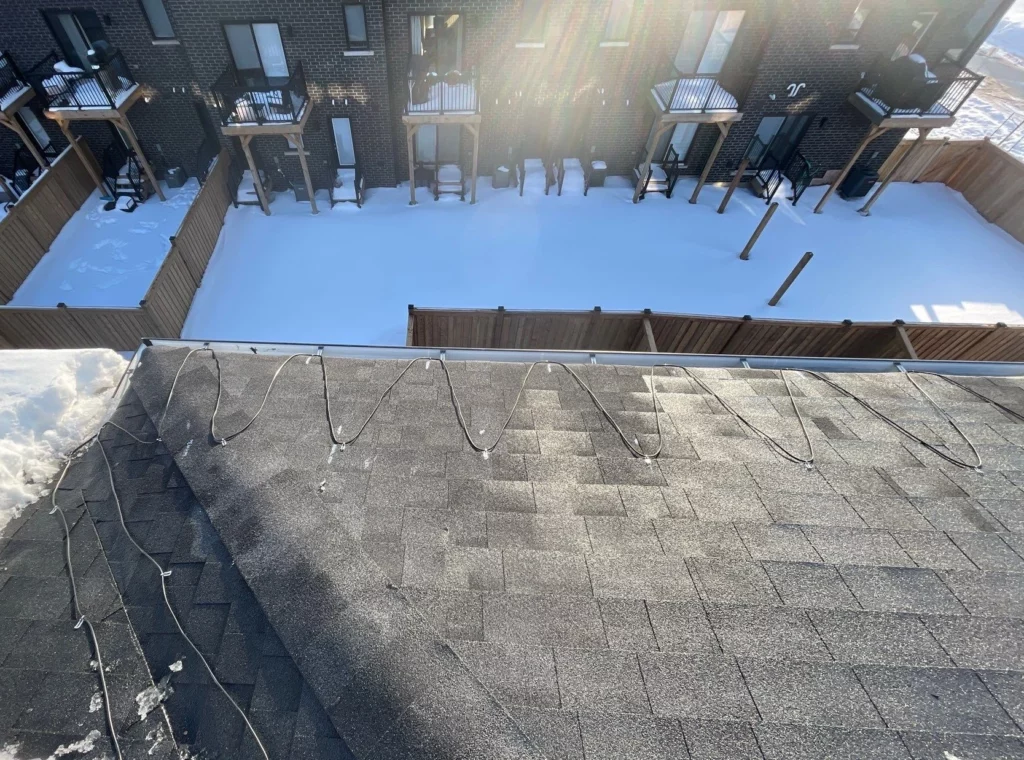
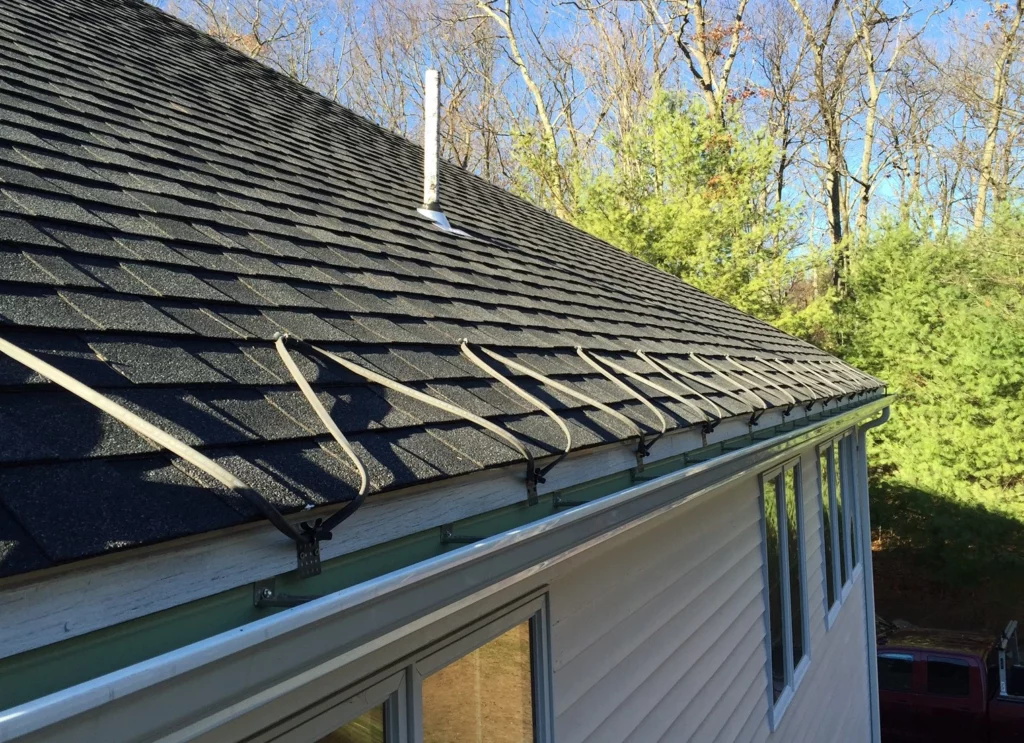
2) Use shingle clips spaced about 16″ apart to form a zigzag pattern around the eaves.
3) Run wires into gutters and downspouts and secure them under clamps.
4) Install the controller and sensor to make sure the system only operates when necessary.
5) Connect to a GFCI-protected outlet and test before to the onset of snowfall.
Some Advice for Maximum Performance
1) Remove heavy snow first; cables function best in thin layers of snow.
2) To make sure the system heats up, test it in the late fall.
3) Avoid kinks or overlaps since they may cause overheating.
4) Maintenance: check for wear, clear debris, and check each season.
Conclusion
A De-icing cable, also known as a heating or de-icing cable, is an easy-to-use yet powerful equipment for preventing winter snow from harming your house. Pick the right kind, utilize it carefully, and install it with care. It keeps your roof safe, prevents ice jams, and eventually saves money.
Keep in mind that it’s not a solution; for full safety, pair it with ventilation and insulation. No matter how harsh winter gets, your house remains solid, dry out, and comfortable with the proper structure.